Creating a Group in Google Apps is an easy way to quickly communicate and share with a group of people or even a whole class. Once the group is setup, you can easily send emails to everyone in the group or share with them in any of the Google Apps.
Steps
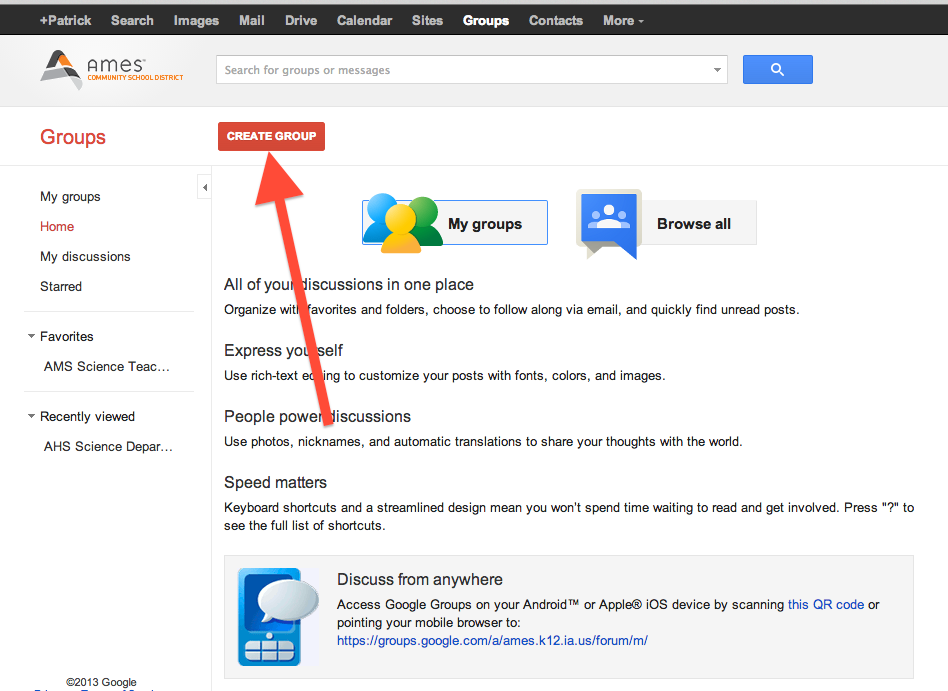
1. Sign in to your school Google account. Select “Groups” from the top row of apps when you are signed in.

2. Click on “Create Group”
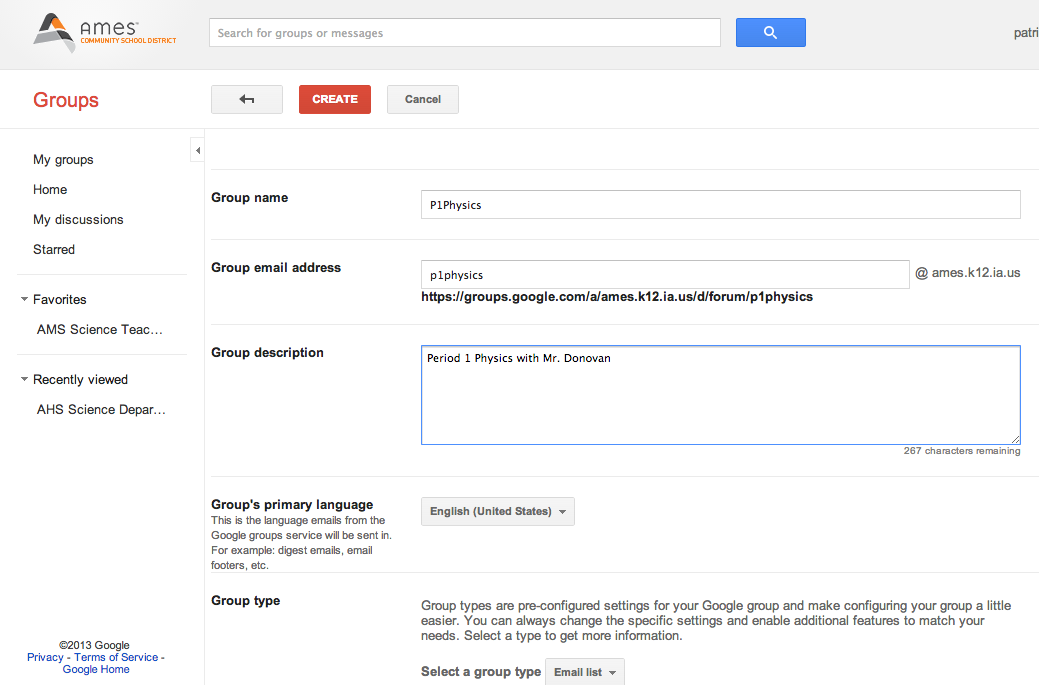
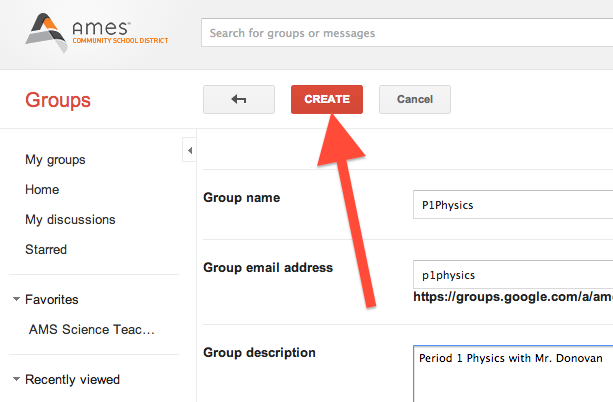
3. Add in the Group Name, Group Email Address and Group Description.
Say I was doing this for my 1st period Physics class, the Group Name could be P1Physics. I could use the name as the email address, if it is available, and then put in a quick description for what the group is. You don’t really need to put in the semester for the name since you can just add or remove students later.
4. Set the Group Type to whichever you like. If you just want to use this as an email list, you should select “Email list”. The only other option used for classes tends to be “Web Forum” which allows you to have a place that acts as a forum for your class. As owner of this group, you would be able to delete and remove posts if they were not made using the rules set in class. (If you wanted to use Forums a lot in your class, I would suggest Moodle since it is a lot easier to setup and manage forums in Moodle than in Google.)

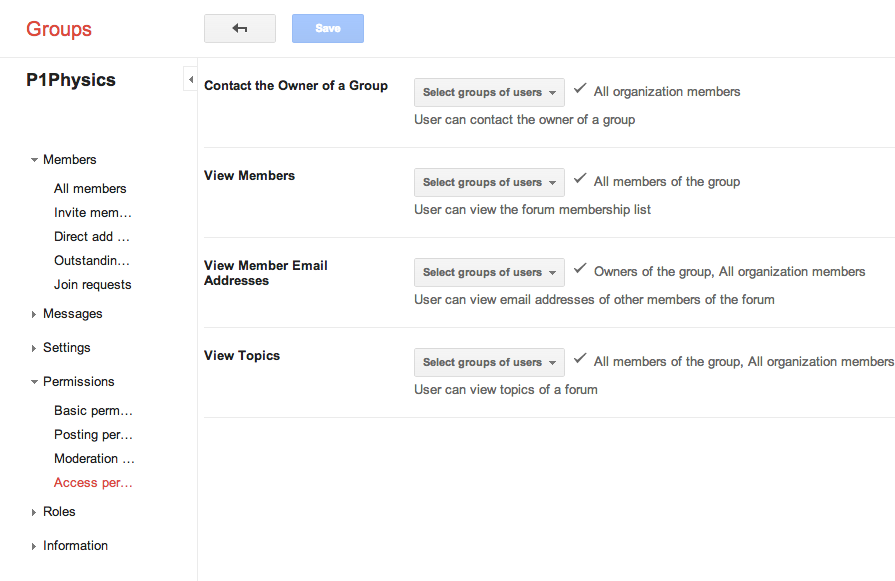
5. Select the permissions for the Group. These can always be changed later.
6. Click Create.
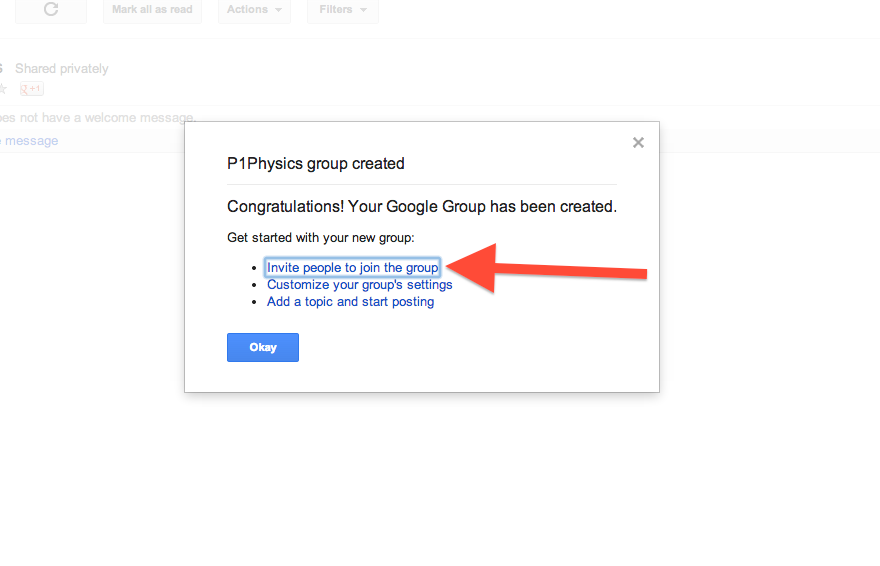
7. A window should pop up showing you that the group was created. Now you can add people to your group.
8. On the left side of the screen you will see options for how you can add people to your group. I would suggest using “Direct Add” since no emails will be sent asking them to join the group, your students will automatically be added. Just add in the email addresses for your students. If you follow the directions for how to get these from Infinite Campus, this can be done quickly.
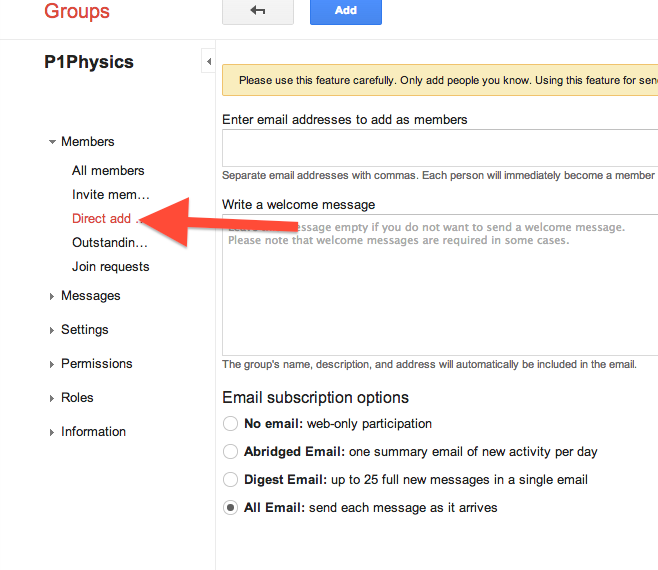
9. Select your “Email Subscription options” for your group. More than likely you would like to use “All Mail” so that messages can go out to your students and they will get all of them.
10. There are more advanced options but you should be able to send emails and share with your students using your Group. You can always change Permissions, Settings, Roles and Members as you go along.